Bring your stream to life in 5 minutes.
Upload a few PNGs, assign mouth shapes and expressions, and StreamSprite turns them into a reactive character that follows your voice, blinks and reacts. Your own VTuber — no rigging, no Blender, no monthly fee.
Built by a streamer tired of expensive, complicated VTuber software.
macOS 13+ (Apple Silicon & Intel) · Windows 10/11 · free updates
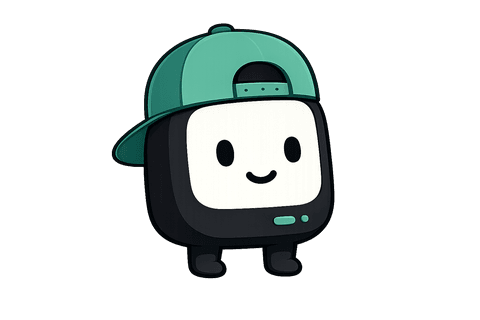
This little guy is already blinking. Give him your voice. 👆
A character that reacts to everything you do.
Your viewers will recognise your little mascot before they recognise your username.
- 🎤
You talk
Mouth moves with your voice in real time — automatically.
- 😄
You laugh
Flip to your laughing frame with a single hotkey.
- 😲
You get surprised
Shock face, ready on a key press.
- 🔥
Clutch moment
A hype state for the plays worth remembering.
- ❤️
A donation lands
Trigger a celebration exactly when it counts.
Talking is automatic from your mic. Everything else is a custom state you bind to any key.
If you can draw it, it can stream.
Upload any character as PNGs and it comes alive. Here's a head start on ideas.
…or the weird original character living in your head. That one's the best one.
From flat PNGs to on-stream, step by step.
- 🎨STEP 1
Upload your PNGs
Drag in transparent frames — a closed and open mouth is all you need to start.
- 😊STEP 2
Assign expressions
Map mouth shapes, blinks and custom states in a simple editor.
- 🎤STEP 3
Turn on your mic
Grant access, tune sensitivity, and the mouth starts following your voice.
- 🎮STEP 4
Add one OBS source
Capture the overlay window — transparent, or green-screen for any setup.
- 🚀STEP 5
You're live
Your character is on stream, reacting. Total time: a coffee's worth.
A whole VTuber-lite studio. None of the complexity.
Give your stream its own personality. No bones, no timelines, no rigging.
Follows your voice
Your character's mouth moves with you in real time. Voice-focus mode cuts background noise and keyboard clicks so only your voice moves it.
Your art, your character
Upload transparent PNGs — you only need a closed and open mouth to start. Everything else falls back gracefully.
Drops straight into OBS
A transparent, always-on-top overlay you capture as one clean window. Green-screen mode too, for any setup.
States on any hotkey
Make your own states — name them, give them art, bind any key. Laugh, rage, BRB or celebrate mid-stream.
Alive, never static
Idle float, breathing, bounce and a talking bob, with random blinks. Subtle motion that makes it feel like a little creature.
Reacts to your voice only
Voice detection and noise suppression keep the mouth moving for your speech, not fans, keyboard clicks or game audio.
A clean, native desktop app.
No clutter. Everything a page or two away.
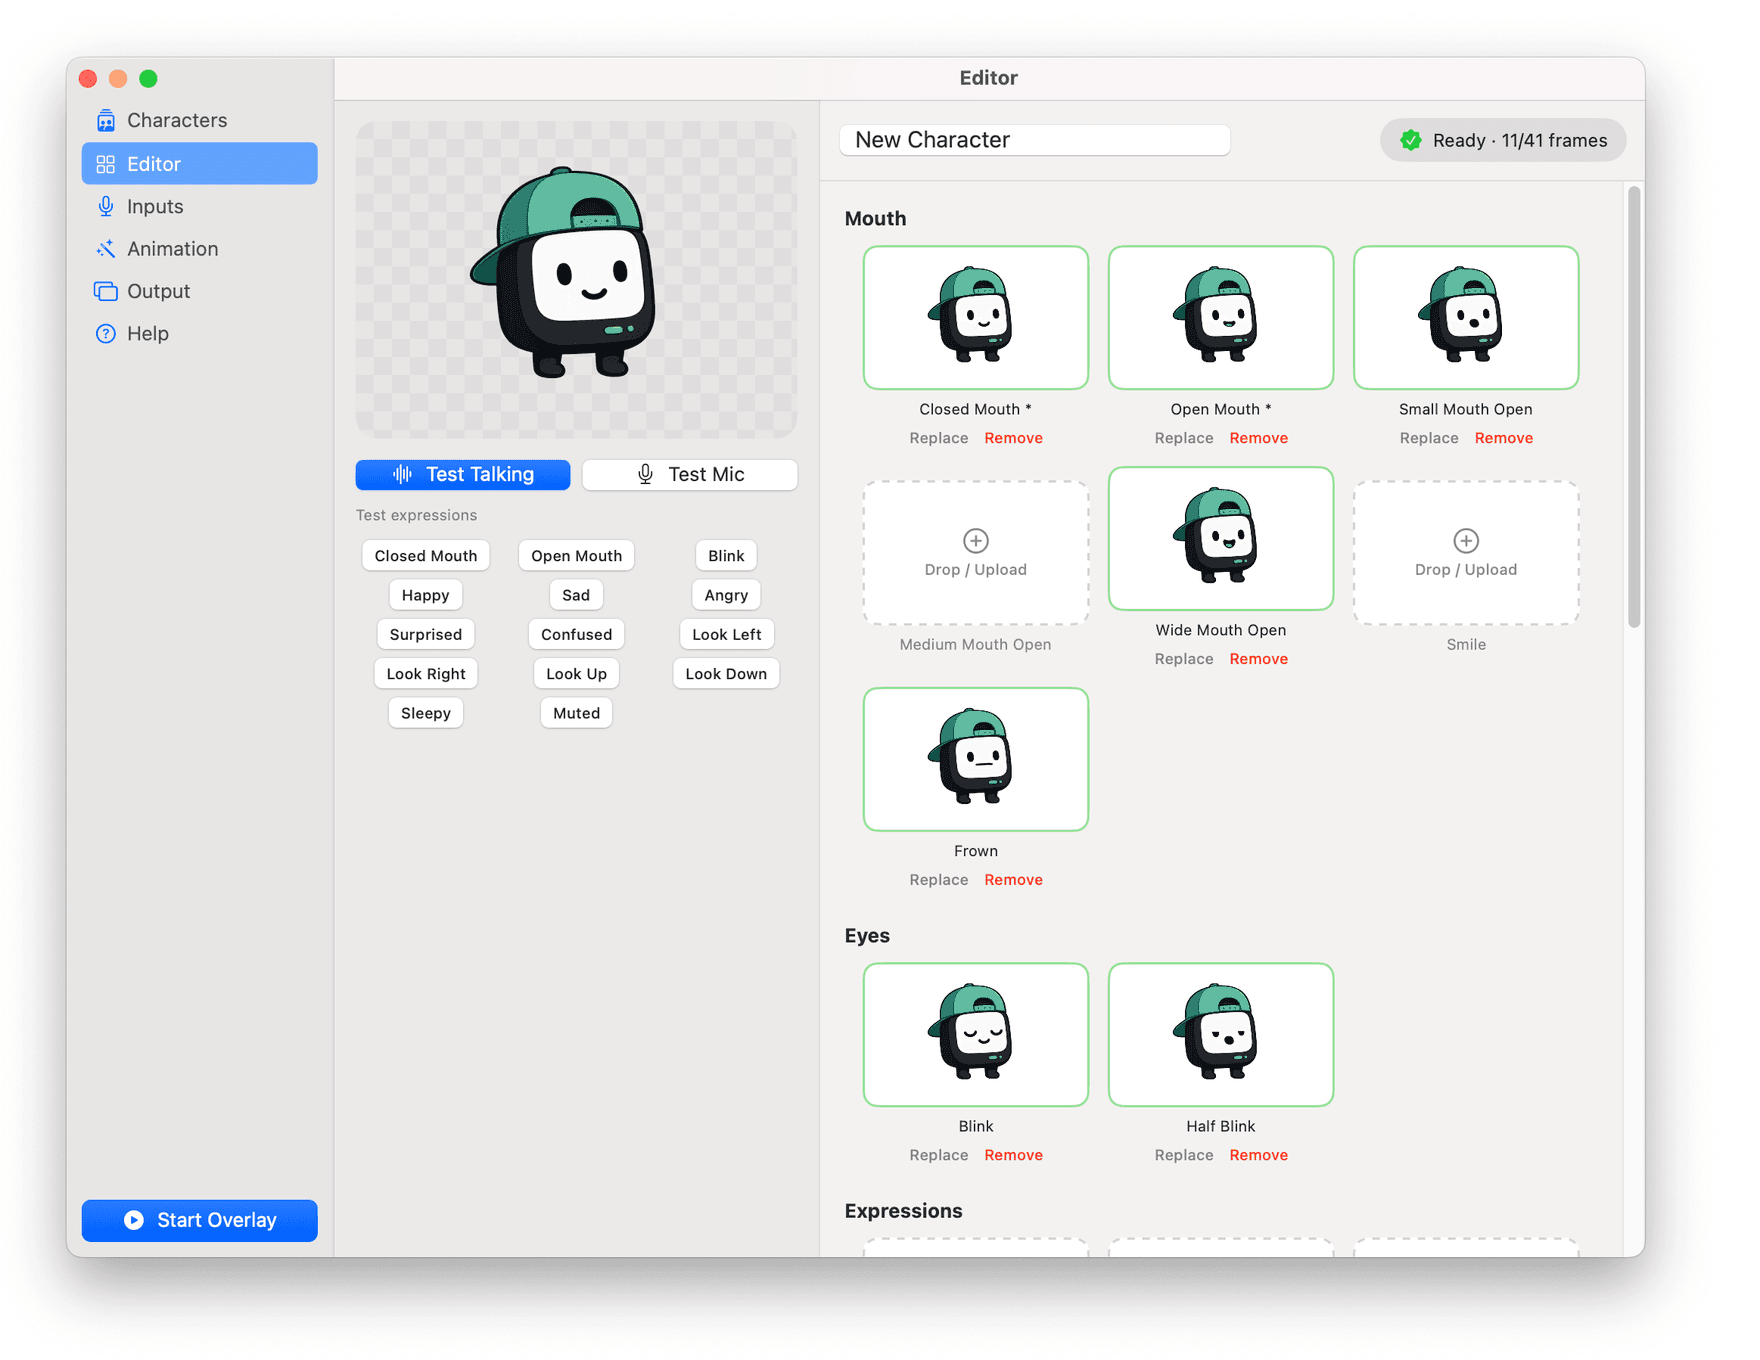
Drop in transparent PNG frames with a live preview, test buttons and a checklist of what you've added.
Comes with three characters to steal.
Start streaming the minute it opens, then make them yours or build your own from scratch.
Streamo
The friendly mint mascot. A perfect first character.
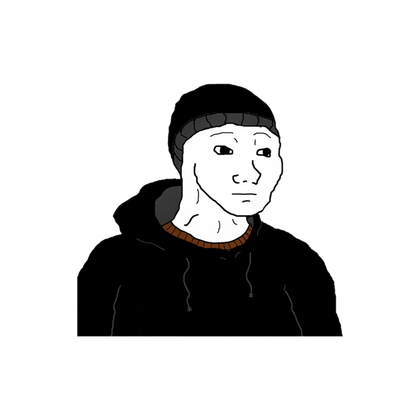
Doomer
Deadpan and lovable. Ideal for late-night runs.

Momo
Bright and bouncy. Cozy-stream energy.
If you go live, this is for you.
Why StreamSprite over the usual VTuber apps.
 StreamSprite
Comparison reflects common VTuber tools; specifics vary by app.
On your stream in seconds.
No plugins. Capture one clean window and you're live.
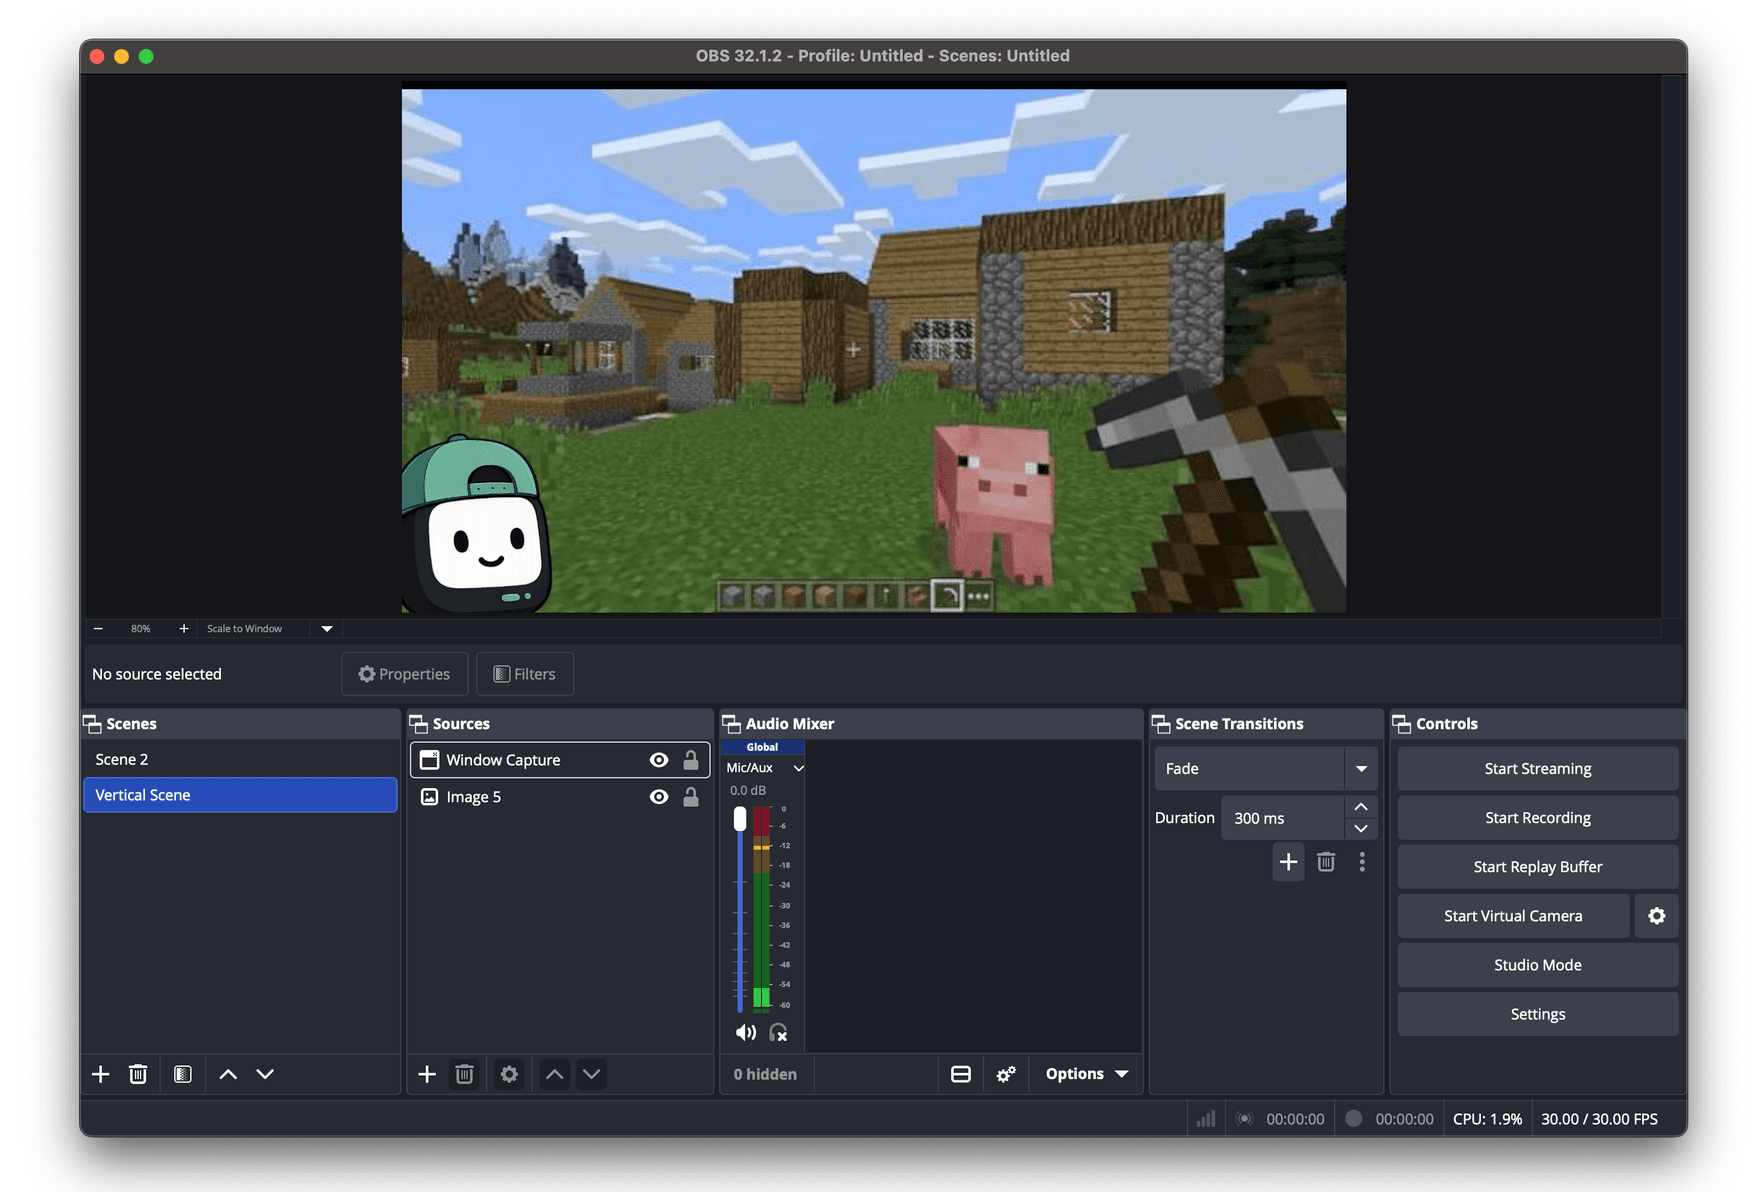
- 1
Start the overlay
Open StreamSprite and hit Start Overlay. Your avatar floats on screen.
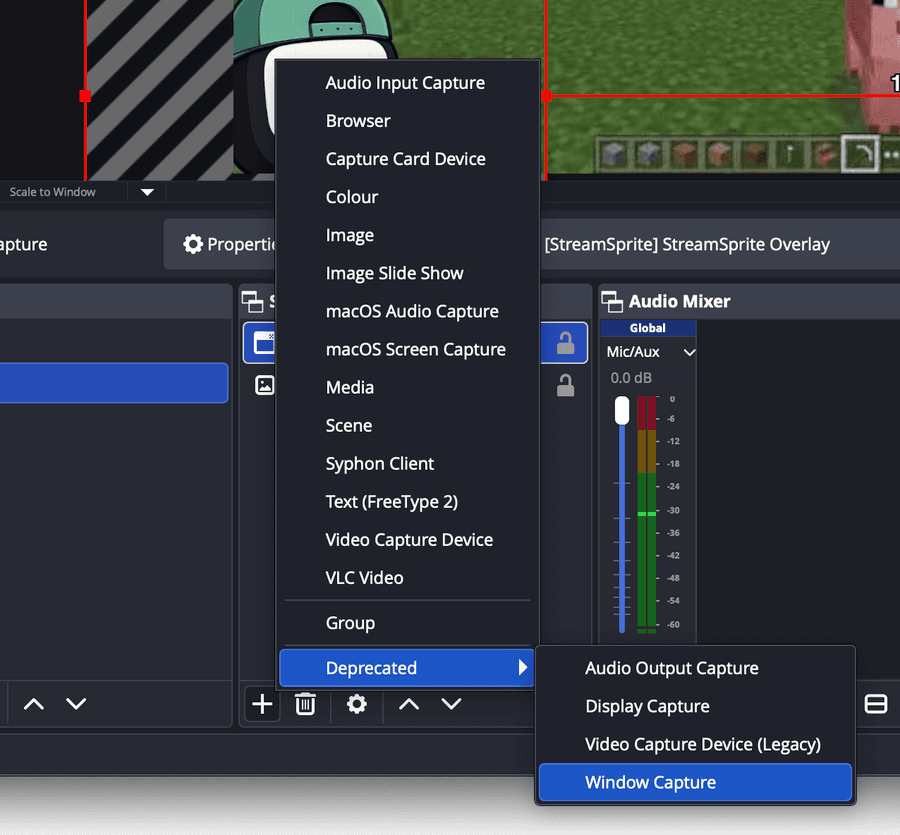
- 2
Add a Window Capture
In OBS, click + under Sources and choose Window Capture.
- 3
Pick the overlay window
Select “[StreamSprite] StreamSprite Overlay” from the window list.
- 4
Position & key it
Drag it where you like. Use transparent capture, or Green Screen mode + a Chroma Key filter.
Create. Animate. Collect.
StreamSprite starts with your own PNGs. A creator marketplace is on the way — browse, buy and sell animated sprites from artists around the world. Buy once now and grow into the whole thing, no subscription required.
Less than one Twitch sub. Yours forever.
No subscriptions. No monthly fees. One payment, every update included.
Everything unlocked. Pay once, download, keep it.
- Mic-reactive mouth with voice focus
- Unlimited characters & custom frames
- Transparent + green-screen OBS overlay
- Custom states with your own hotkeys
- Idle, talking & blink animations
- Voice detection (reacts only to you)
- Three starter characters included
- Free updates, forever
Instant download · Mac & Windows · Secure checkout by Stripe
Good questions.
What do I need to make a character?+
Transparent PNG frames of your character at the same canvas size. The bare minimum is a closed mouth and an open mouth; add small/medium/wide, blink and expressions for more life.
Does it work with OBS?+
Yes. Start the overlay, then add a Window Capture in OBS and pick the “StreamSprite Overlay” window. There's a transparent mode and a green-screen mode for chroma keying.
Do I need a webcam?+
No. StreamSprite is mic-driven — your voice moves the mouth. There's nothing to set up beyond choosing your microphone, and voice detection keeps it reacting to you rather than background sound.
Which computers are supported?+
macOS 13 (Ventura) or later on Apple Silicon and Intel, plus Windows 10 and 11. The Mac app is signed and notarized; the Windows version is a brand-new beta, so Windows may show a “Run anyway” prompt on first launch.
Is it really one payment?+
Yes. $20 once, no subscription. Updates are free through the app's built-in updater.
Can I sell characters I make?+
A creator marketplace is on the way — you'll be able to list and sell your sprite packs. For now, you can export characters as a single file to share or back up.
Your stream deserves a face.
Whether it's a robot, a cat, a mushroom or a potato — upload your art today and turn it into a character your viewers will remember.
Buy once. Stream forever.
Warning: your viewers may become emotionally attached.